Blocking unnecessary traffic on your network is a great way to improve performance, security and privacy. Reducing the amount of traffic leaves more bandwidth available for the traffic you actually want and blocking malicious sites reduces the risk that you will download something potentially dangerous onto your computer. It also means that if you do get infected, the malware may not be able to reach its command and control servers, protecting you from any remote commands sent by the attacker. I have previously talked about using Pi-hole to sinkhole unwanted DNS queries to block advertising or malicious domain names. However, while this approach works well for advertising as it tends to use known domain names that stick around for a long period of time and are usually accessed via DNS queries, the situation is more complex when blocking malware. Many malicious services are short lived and may not be linked to a domain name, allowing them to bypass DNS blocks. DNS is also only queried when making outbound connections so a malicious service attempting to make inbound connections would not be blocked. This means that rather than blocking lookups to malicious hosts, we will need to block them with firewall rules.
pfSense provides a package called pfBlockerNG which allows for advanced and dynamically updating blocking rules based on blocklists or GeoIP data. It also supports DNS blocking so can fully replace Pi-hole if you choose to enable this feature.
Installing pfBlockerNG
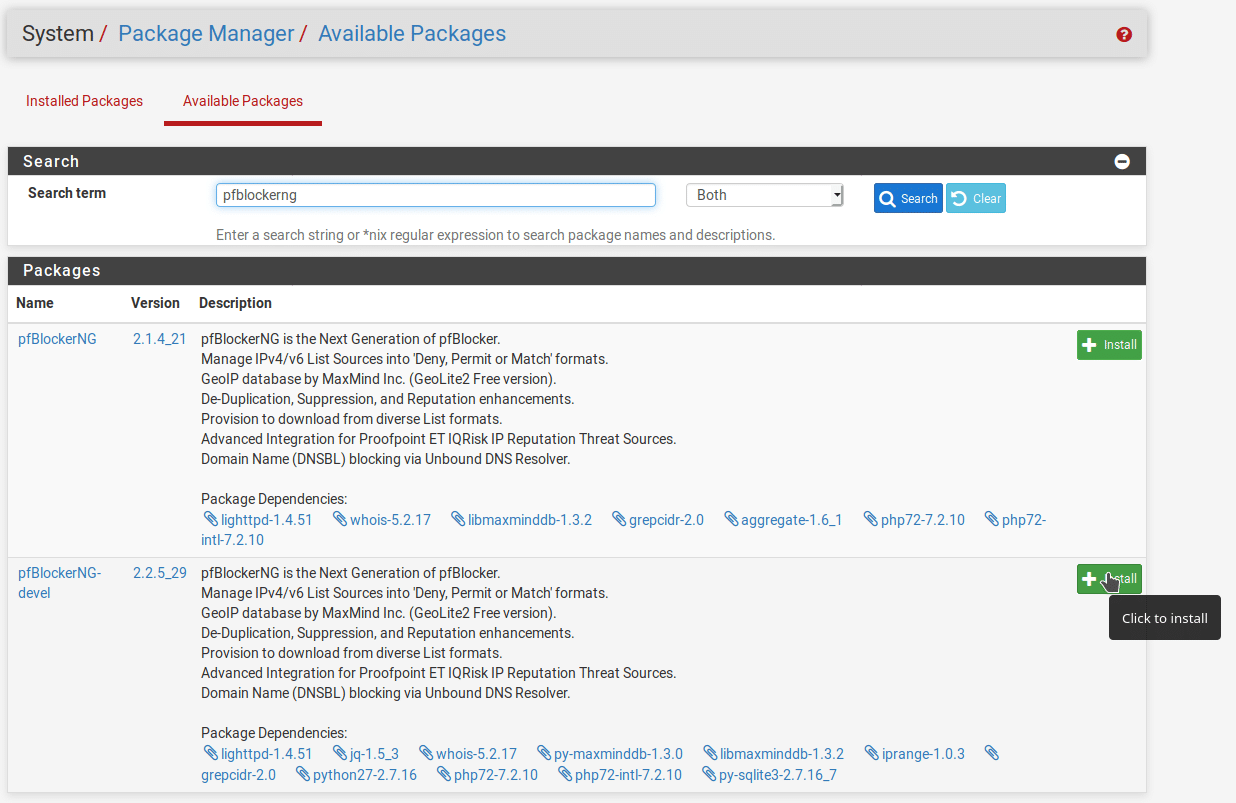
From your pfSense admin interface, go to System > Package Manager > Available Packages and search for “pfBlockerNG”. Install the development version (pfBlockerNG-devel) as it is just as stable and has newer features including the ability to choose from pre-selected blocklists.
Once the package is installed, you will see an entry for pfBlockerNG in the Firewall menu at the top of the page. This is where we will configure the blocking settings.

When you first open pfBlockerNG, you will be taken to a setup wizard which will give you a basic configuration. Following the steps in the wizard will give you a basic configuration, blocking outbound access to a small number of known malicious IPs and adding some basic DNS blocklists. Click “Next” to begin the wizard and accept the warning that completion of the wizard will wipe all settings. In this case we have not configured anything so it doesn’t matter but bear that in mind if you try to run it again once everything is set up.
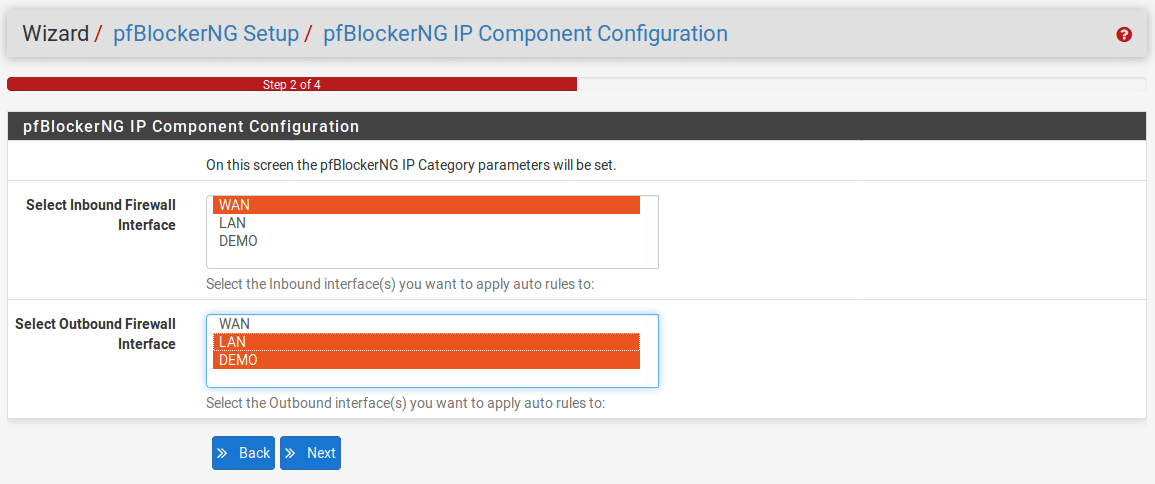
Tell pfBlocker which interfaces are inbound and which are outbound and click “Next”. Normally your WAN interface will be inbound and LAN will be outbound but if you have multiple interfaces configured you may wish to select more than one for each of these sections. This can be done by holding down the Ctrl key while clicking on the interfaces you wish to add. If you want to exempt an interface from blocking, don’t identify it as either inbound or outbound.
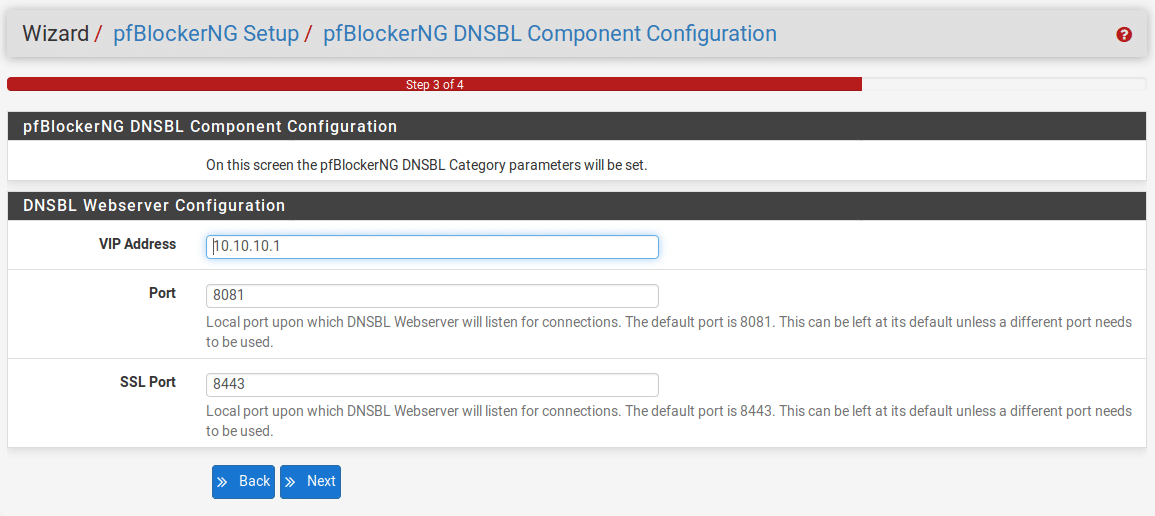
You will next need to configure the web server for DNS blocking, this is the page that you will be redirected to when you try to access a blocked page. Most likely you can leave the default settings in place but if the IP address or ports are already in use on your network change them to something else.
On the final screen, click “Finish” to apply the configuration.
Managing Blocklists
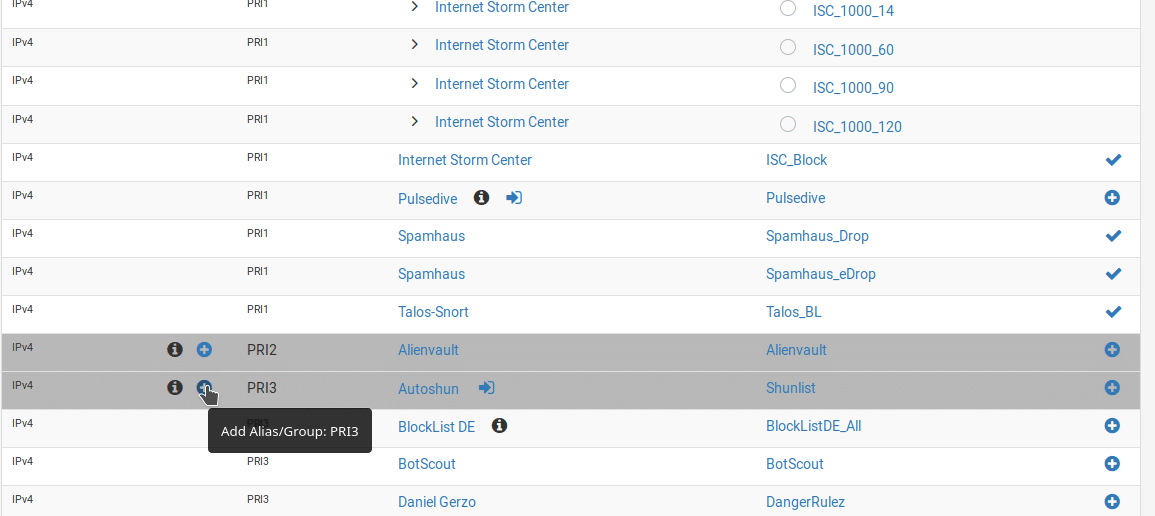
From the pfBlockerNG interface, select the Feeds tab. You’ll see the list of predefined feeds. These are publicly available blocklists that pfBlockerNG is configured to periodically synchronise with. Based on the default settings in the wizard, you will see that almost all of the blocklists in the PRI1 group are enabled. These have fairly broad coverage but aim to avoid false positives so there is a higher chance they will miss genuine threats. You can also choose to enable additional blocklists by clicking the + icon on the right of the relevant line or enable an entire group by clicking the + icon for that group. There are several general groups that can also be enabled, these are PRI2-5. Generally speaking, the lower the number, the more it tries to avoid false positives so if you enable the more restrictive lists (PRI3 and above), be prepared for some sites to break which will require some troubleshooting and possibly whitelisting of the false positives. You can also find groups aimed at blocking specific types of malicious or undesirable traffic such as email or forum spam or Tor nodes. The feeds also contain similar lists for IPv6 although these are less extensive as there is generally less IPv6 traffic and DNS blocklists, all can be enabled in the same way.
As an example, I will enable blocklists in the PRI3 group. Scroll down to the group header and click the + icon next to the group name.
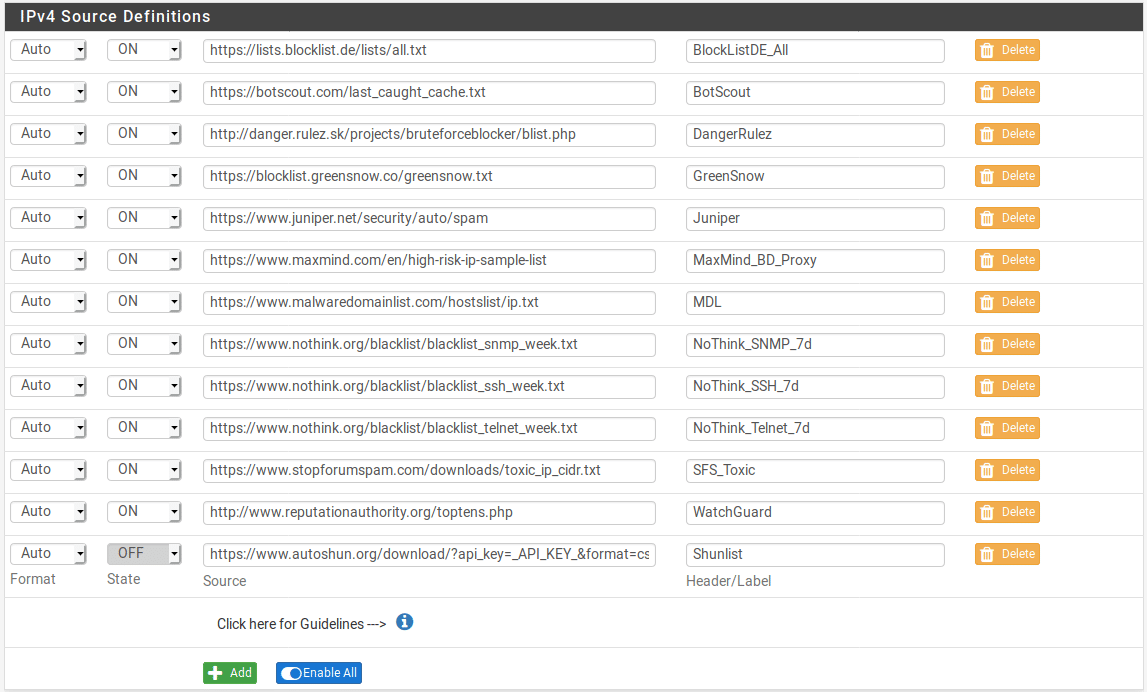
You will then be taken to the settings page to add the rule. By default the list is added in a disabled state and all the feeds that are part of it are also disabled so some configuration is needed. Set the name and description of the list if you like or just leave the defaults set. You’ll also need to decide which of the blocklists to enable. From the drop-down, select which option you want for each list. In most cases you will choose either “OFF” if you don’t want to use the list or “ON” if you do. You can also select “HOLD” if you want to download the list once but exclude it from automatic updates. If you want to enable everything, click the “Enable All” button at the bottom of the list. In this case I will enable all of them apart from Shunlist as this is a premium list which requires an API key to use.
Next, scroll down to the Settings section and choose the action you want to take when an IP address is matched. You can choose to permit, deny or match and also whether the rule is matched for inbound or outbound traffic. Most likely you will want to apply the rule to both inbound and outbound connections. You will also want to consider whether you want to immediately start blocking traffic or you just want to match the traffic in your logs for a while before enabling blocking. For this example we will immediately start blocking both inbound and outbound. We will also keep logging enabled to make troubleshooting easier although on busier networks you may wish to disable this to reduce disk activity and improve performance.

Scroll to the bottom of the page and click “Save IPv4 Settings” to apply the changes.
This process is the same for IPv6 and DNS blocklists, just add the alias group, select the lists you want to enable and choose the action to be taken when an item is matched.
GeoIP Blocking
GeoIP data can be useful to allow blocking of specific regions. This will not be useful in all situations as obviously not all regions are entirely malicious. However, if all your expected traffic comes from specific geographic reasons there is no point allowing traffic from other regions as this exposes additional risk with no real benefit. In most cases you will only want to block inbound access based on GeoIP data, this will allow internal users to access sites all over the world but block inbound access from regions you do not expect traffic from.
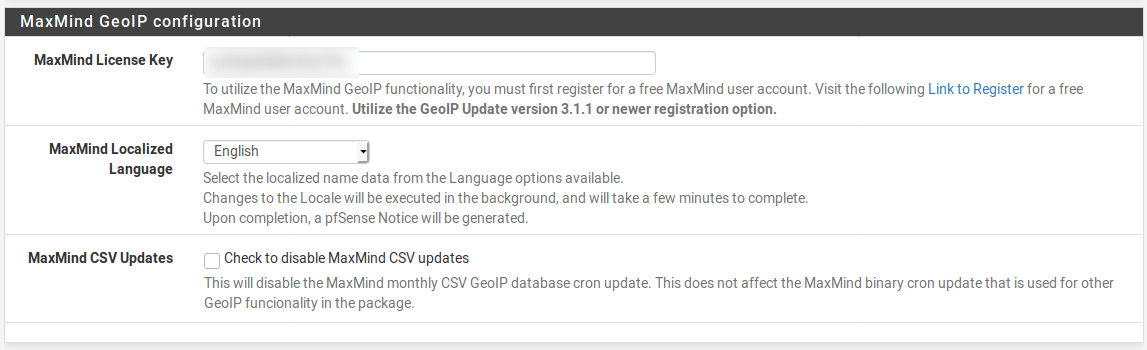
GeoIP blocking relies on the MaxMind GeoIP database. While the database is free to use, it does require a MaxMind account and an API key. Go to the MaxMind sign-up page and create an account. Once you have your API key, go to the IP section of the pfBlockerNG menu and enter the license key. Save the settings to enable access to the GeoIP database.
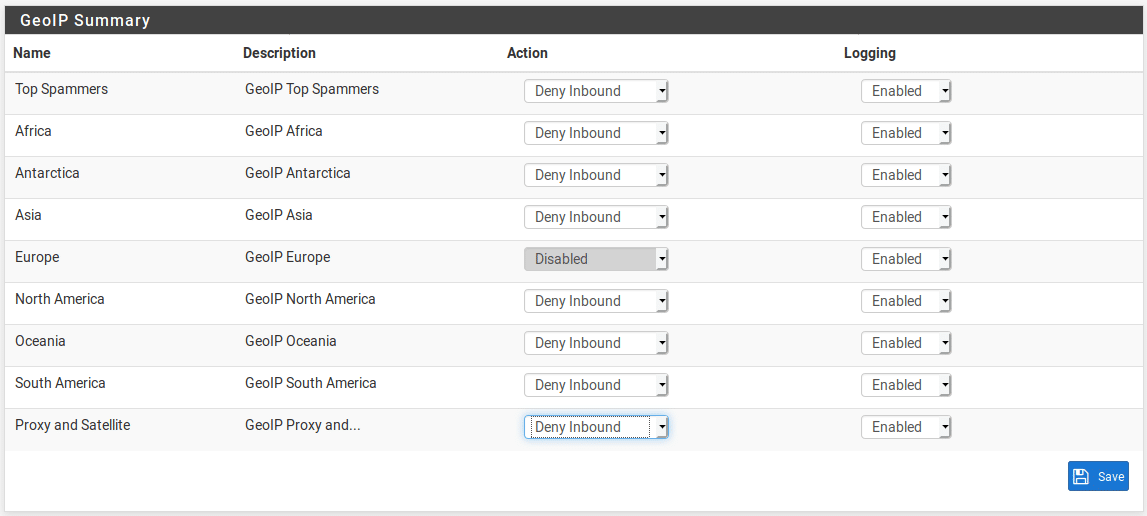
Now go to the GeoIP tab and select the blocking rules you want to enable. In this example, I will block all traffic from all regions except Europe. This means that I will be able to access my internet exposed resources from Europe but they won’t be accessible from any other region. Obviously this is a very broad brush approach and should not be your only line of defence but may be a useful way of blocking traffic from regions where you never expect legitimate traffic to originate. It will not be appropriate if you are expecting worldwide access to the network (for example, if you are running a website or exposing internal resources for a company with a worldwide presence.)
DNS Blocking
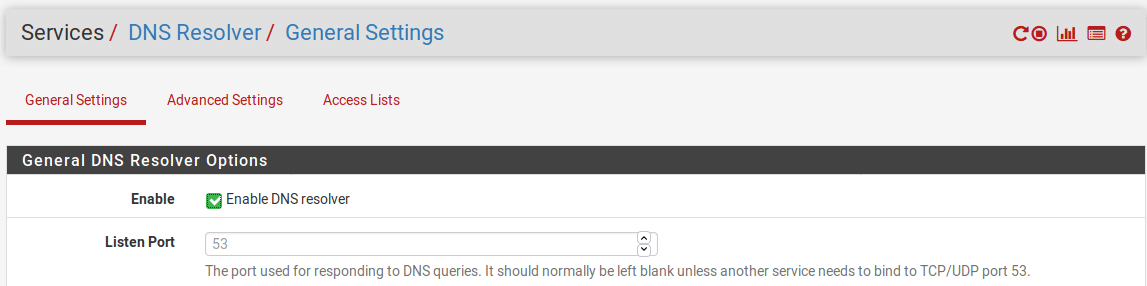
Most of the work to enable DNS blocking is already done, we’ve already configured some basic blocklists and I have described the process of adding additional ones. You’ll just need to make sure that your devices are configured to use pfSense as their DNS server. If you are using a standard pfSense configuration then this will already be set but if you have configured an alternative DNS server such as a Pi-hole you will need to check the DNS configuration on pfSense and tell client devices to use it. Go to Services > DNS Resolver > General Settings and check that the DNS resolver is enabled.
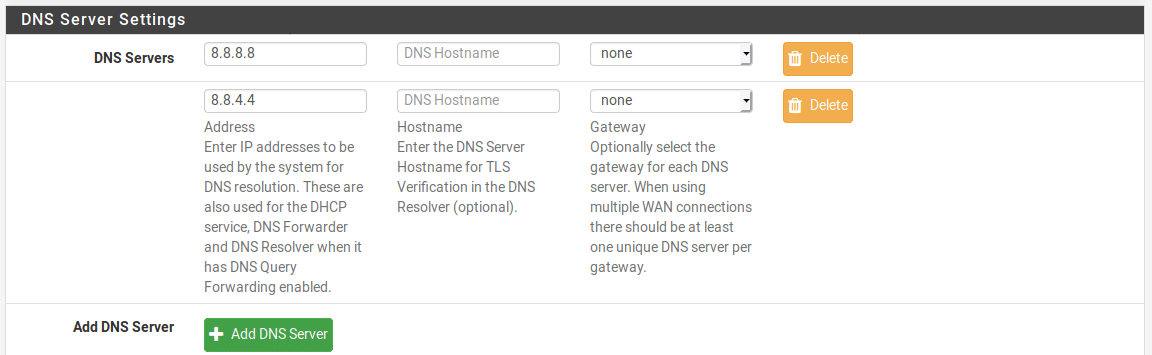
Now go to System > General Setup and check that external DNS resolvers are configured as these will be required to forward DNS requests that aren’t blocked. If you have another internal DNS server configured such as a FreeIPA server, use that as the upstream resolver, if not, use a public DNS provider such as Google DNS.
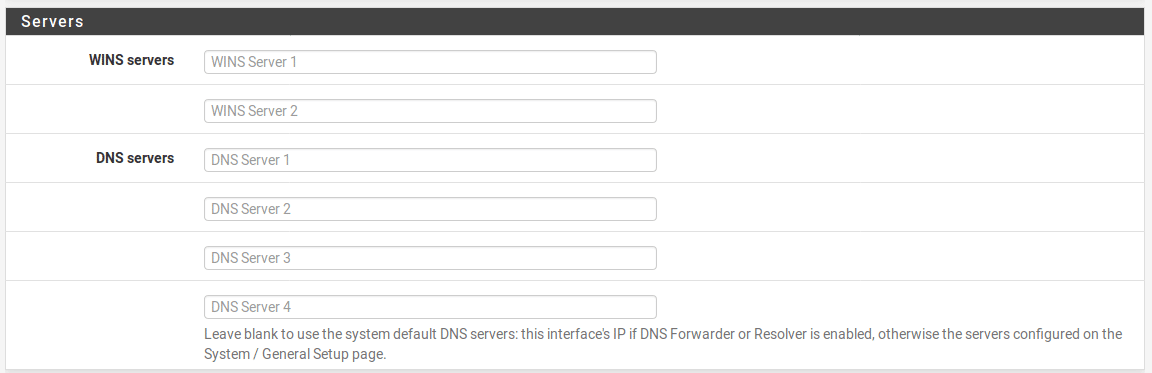
Finally, go to Services > DHCP Server and select all the interfaces for which you want to enable blocking and check that nothing is listed under DNS servers.
If you have configured static DNS on any servers you will need to update them manually, set them to pfSense’s IP address.
Troubleshooting
While you shouldn’t see too many issues as long as you don’t get too adventurous with your block lists, situations may arise where legitimate services get blocked. Sometimes this is genuinely a false positive but it may also be an indicator that a legitimate site has been hacked and is currently sending malicious traffic so care should always be taken before whitelisting. As the blocklists are updated fairly often, these issues can often be transient but if you do ever need to whitelist something, go to Firewall > pfBlockerNG > Reports > Alerts. Look in the list of recent blocks and click the + icon next to the offending item to create a whitelist entry for it.