In a multi-site network you will most likely have VPNs connecting your sites, allowing remote connectivity to your main site. However, as these links are not necessarily 100% reliable, a dropped link could potentially result in the loss of monitoring data for a large number of hosts as the agent does not store any data by itself. By using Zabbix Proxies on remote sites it is possible to configure the agents to communicate only with the local proxy which will then store the data and relay it back to the main server when a link is available. Zabbix Proxy can be installed on any operating system that the Zabbix Server can be installed on but it can also be installed as a package on pfSense. This has the advantages that it does not require maintaining an additional server for each site and provides a simpler interface for configuring the proxy than installing it on a Linux server would.
Install the Zabbix Proxy plug-in
In the pfSense management console, go to System > Package Manager > Available Packages and search for “zabbix-proxy”. You will see multiple different versions. Unlike the agent, the proxy must be the same version as the server so select the appropriate one for your server. In this case we will install zabbix-proxy5.
Connect the proxy to the server
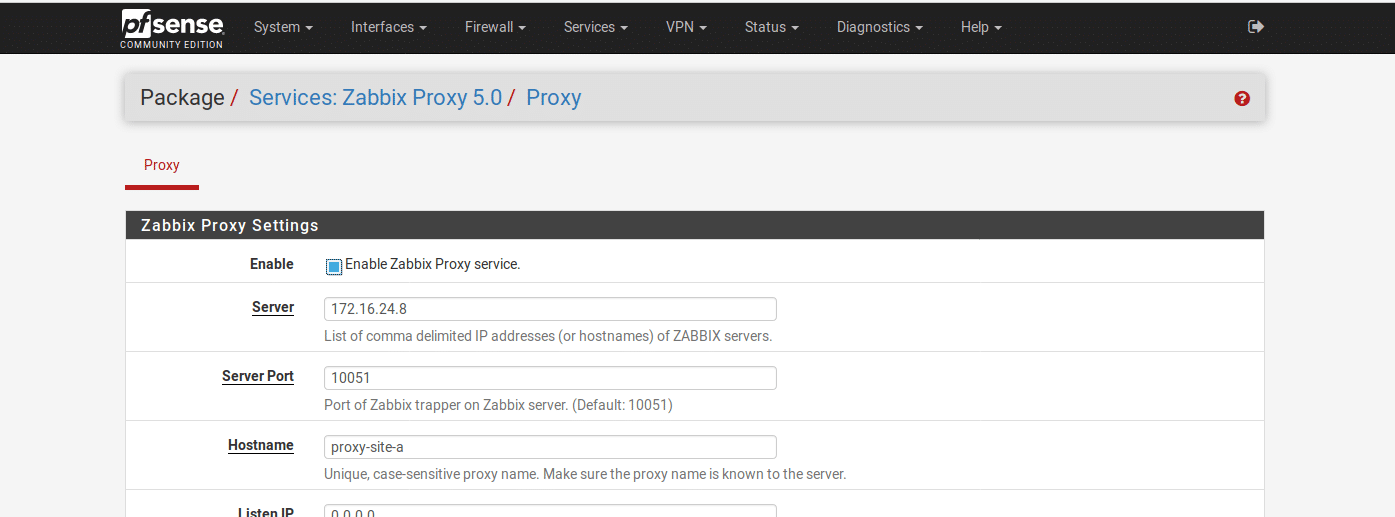
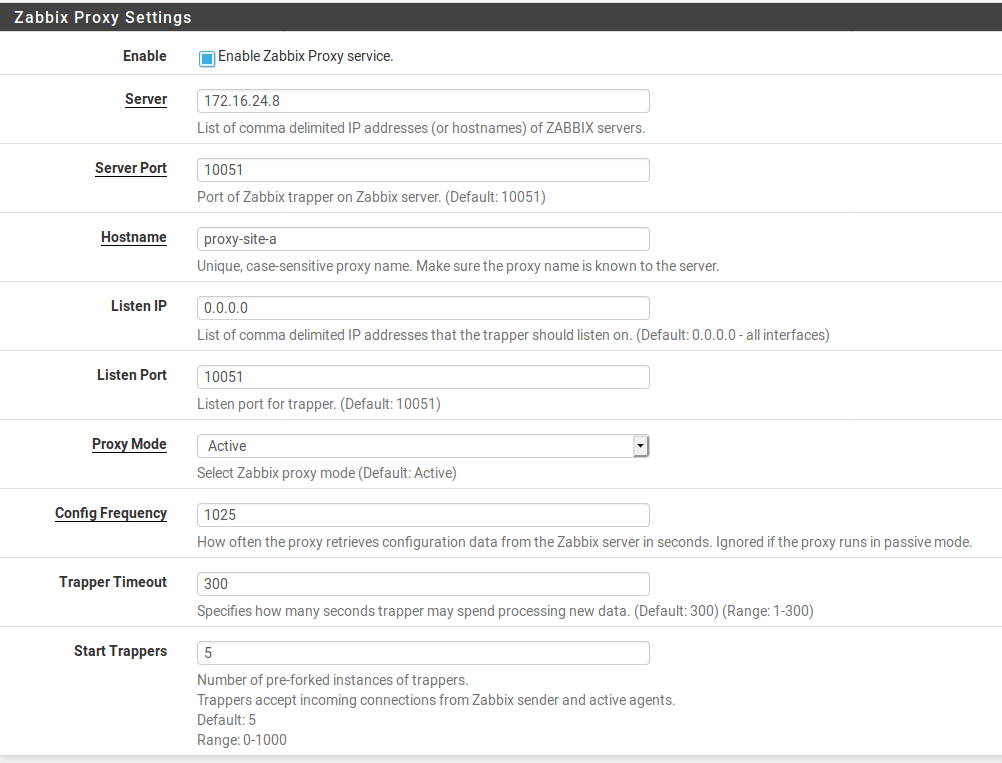
In the pfSense console go to Services > Zabbix Proxy 5.0 and configure the proxy. Set the server to the IP address or hostname of the Zabbix server and the hostname to whatever you will call the proxy within the Zabbix console. The other options can be left as default but can be modified if desired. For example, if you only want the proxy to listen on one interface, set the listen IP to the pfSense IP address for the interface you want to listen on. If you have a large number of proxies you can increase this value to reduce load on the server but doing so will increase the propagation time for any changes you make to your setup.
While testing or for small deployments you may wish to lower the config frequency from the default of 1 hour. This value determines how often the proxy will contact the server to get the current configuration, including the hosts to monitor and the data it is supposed to collect.
Finally, enable the service and save the settings.
Now the proxy is configured it is time to tell the server where to find it. From the Zabbix console, go to Administration > Proxies. Click “Create proxy” to add the new proxy. Enter the name (this is the hostname you configured in the proxy) and the IP address of the proxy.
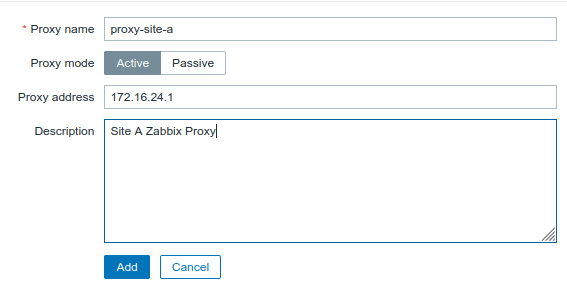
Once you have added the proxy, reload the page and check that the proxy shows up in the list and it has a “last seen” value. If all is well and the listing shows something similar to the below, the proxy is set up and we are ready to configure hosts to talk to it.

Configure the proxy to monitor hosts
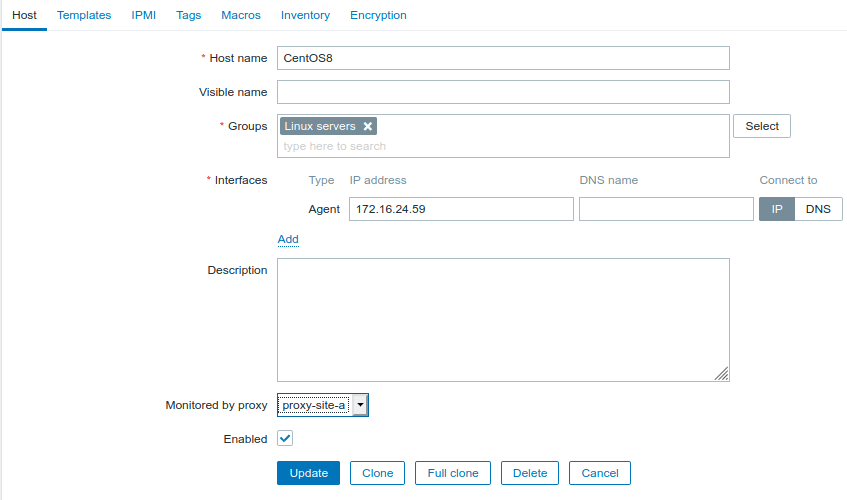
Configuring an agent to use a proxy is very similar to configuring it to talk to the server directly. For this example I will modify the CentOS host described in my post on configuring Zabbix agents to get it to talk via the proxy.
Log in to the server and open /etc/zabbix/zabbix_agent.conf. Edit the Server and ServerActive values to the IP address or hostname of the Zabbix proxy and save and close the file. Restart the Zabbix agent:
systemctl restart zabbix-agent.serviceNow log in to the Zabbix console and go to Configuration > Hosts and select the host you want to monitor via the proxy. In the host settings, click the drop-down next to “Monitored by proxy” and select the proxy you have configured the host to talk to. Click “Update” to save your settings.
When you return to the hosts list you will probably see that the host appears to be offline. This is because the proxy will not find out that it is meant to be monitoring the host until the next time it syncs its settings with the server. If you have set a reasonable update frequency you will just need to wait for that period of time and it should start to appear and collect data automatically.
If you need to force the proxy to update immediately, log in to pfSense and go to Status > Services and restart the zabbix_proxy service. When the service starts up this will force a config sync and you should see the host come online within a couple of seconds after the service restarts.