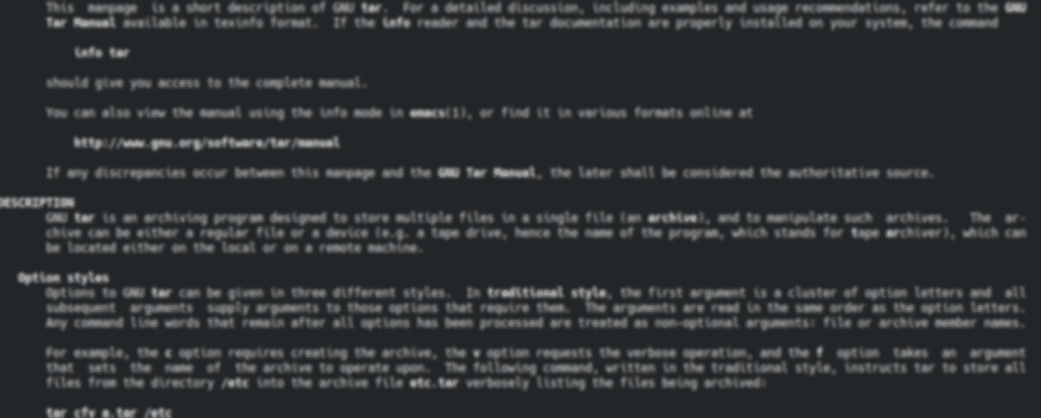
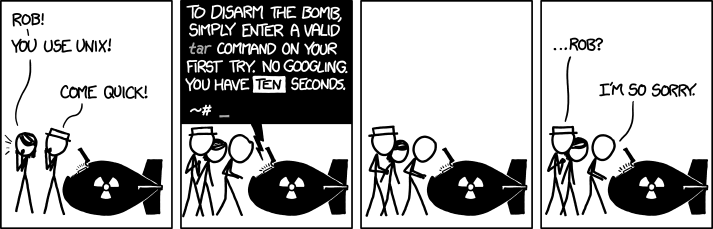
Tar is a common file archive format on Linux and other UNIX or UNIX-like systems. Like the zip file format, the tar format allows you to combine multiple files in to a single archive. Tar provides many options for compression and file formats making it suitable for many use cases. However, it has gained a reputation for being a difficult command to learn and use. This guide contains examples for many common (and some less common) use cases for tar and can serve as a reference if you want to make sure you are using the correct syntax.
What is tar?
Tar, originally standing for tape archive is the traditional archiving utility on most UNIX-like systems. On modern systems without tape drives, you would usually save archives to a file instead of tape. Unlike the zip format, which both combines and compresses files, tar only combines files. Compression is performed separately using a utility such as gzip or bzip2. However, you can use the tar command to perform both the archiving and compression in one go.
Creating an archive
You can create an archive using the --create flag (c in the short format). One caveat is that if the archive file already exists, attempting to create a new archive will overwrite it. This can cause problems if you invert the order of your source files and your archive as you may end up replacing your source files. The easiest way to remember this is to think about the command using long form flags. For example:
tar --create --file example.tar file1 file2 file3In this example it should be clear that the --file (f) flag indicates the output file. The input files are specified at the end of the command. Once you understand the syntax, you can use the short form version of the command:
tar cf example.tar file1 file2 file3Files will be added to the archive using the full provided path excluding the leading /. For example, if you ran
tar cf example.tar /tmp/{file1,file2}and then extracted the archive, a folder called “tmp” would be created in your extraction location. The files would be placed in that folder.
Extracting an archive
Once you have created an archive, the next thing you will want to do is extract it. The command to do this is almost the same as the command to create an archive. Except the --extract (x) flag is used:
tar xf example.tarIf you just need to extract certain files, you can specify them at the end of the command:
tar xf example.tar file1 file2If you are specifying files you will need to specify the full path location in the archive. For example:
tar xf example.tar tmp/example/file1Extracted file paths are always relative to the current working directory.
All about compression
As discussed, tar archives are uncompressed by default but compression can be enabled if desired. The short options for some of the compression algorithms can be a little confusing but there are also long options. The table below shows all the available compression algorithms.
| Algorithm | Short Option | Long Option |
| gzip | z | --gzip |
| bzip2 | j | --bzip2 |
| xzip | J | --xz |
| lzip | --lzip |
|
| lzma | --lzma |
|
| lzop | --lzop |
|
| zstd | --zstd |
Additionally, if you use the --auto-compress (a) flag, tar will automatically detect the right compression algorithm based on the file extension:
tar caf example.tar.gz file1When extracting an archive, the compression algorithm can be specified but if omitted will be detected from the file name.
Inspecting the contents of tar archives
If you want to list the contents of an archive you can use the --list (t) flag. You will still need to use the f flag to indicate that the archive you want to list is a file:
tar tf example.tar
------------------------------------
file1
file2
file3
If the archive contains subfolders, the full path will be listed. This can be useful if you need to modify an archive or extract only a couple of files.
Modifying tar archives
Adding more files
You can add additional files to an existing archive using the --append (r) flag. This flag uses the same syntax as --create:
tar rf example.tar file3Updating an archive
The --update (u) flag is used to update an archive by only appending files that either don’t exist in the archive or which have been modified since the archive was created. Updated files will not actually replace the old copies of the file in the archive. Instead you will get multiple copies of the file with the same name. This presents a difficulty when extracting the archive in determining which copy of the file you will get. When an archive is extracted, files are processed in the order that they appear in the archive. This means that the newest copy of the file will always be extracted unless another version is specified. You can use the --occurrence flag to specify which version of the file to use. For example, the following command will extract the 3rd instance of file1:
tar xf example.tar file1 --occurrence=3Removing a file
You can remove files from an uncompressed archive using the --delete flag. There is no way to remove a file from a compressed archive.
tar f example.tar --delete file1Other useful actions
When creating or extracting an archive, you might want to see the names of the files being processed. You can do this using the --verbose (v) flag.
You can combine multiple archives together using --concatenate (A):
tar Af example1.tar example2.tar example3.tarIn the above example, the contents of example2.tar and example3.tar will be appended to example1.tar
There are many other options which can be used to accomplish different tasks but the above commands should cover most common situations. You can find the full list of commands in the man page and, even if you are using different options, you can use the above commands as skeletons to be modified for the more advanced options.