While VPNs are a great way to grant remote access to internal resources for a limited group of users, there are situations where you might want to expose an internal resource directly to the internet. For example, if you want to run a web or email server from inside your home or office you will need to allow other people to access this and handing out VPN logins for everyone who wants to visit your site or email you is impractical and leads to the risk that they may gain access to other resources that you might not want them to see. Using port forwarding allows clients to access your public IP on a specific port (or even on all ports if you have multiple WAN IP addresses) and have that request forwarded to a host on your internal network.
For this example, I have a pfSense firewall with a WAN IP address of 10.100.4.48 and will be forwarding traffic on TCP port 80 to a web server inside the LAN with an IP address of 192.168.1.10. This process can be used to forward any port or protocol supported by pfSense but in most cases you will just want to forward specific UDP or TCP ports.
Limitations of port forwarding
While port forwarding is a useful tool to expose a small number of services, you can only forward a port to a single host so if you have two web servers and you want them both to listen on port 443 you will not be able to use port forwarding and will need to use a reverse proxy. You will also need at least one public IP address. A lot of home ISPs use Carrier Grade NAT to work around the shortage of IPv4 addresses, meaning that a single public IP address is shared between multiple customers. In this setup neither port forwarding nor reverse proxy can be used.
Creating the port forwarding rule
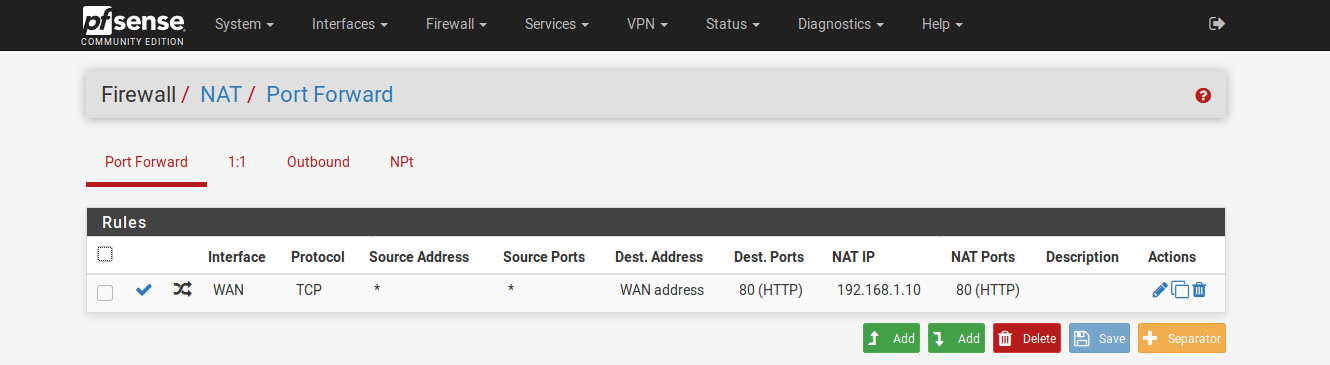
From the pfSense console, open Firewall > NAT. As we just want to forward a specific port, we stay in the Port Forward tab and click the Add button to create a new NAT rule. As this is our first rule it doesn’t matter whether we add it to the top or bottom of the list but if you have multiple rules set to apply to different source IP addresses, bear in mind that the rules are evaluated from top to bottom so order them appropriately.
In the settings for our policy, leave the interface set to WAN and the protocol set to TCP as this is a web server. If you are planning to expose a UDP service like WireGuard then set the protocol to UDP instead.

If you only have a single public IP address, you will leave the Destination as WAN Address. This will be the address that clients connect to so if you have multiple public IP addresses you could set this to be a secondary IP address.
We now need to set the destination port that clients will connect to. In this case we will pick port 80 so clients won’t need to specify the port number.

Configure the host and port to redirect to. This will be the server IP address and port, in this case 192.168.1.10 on port 80.

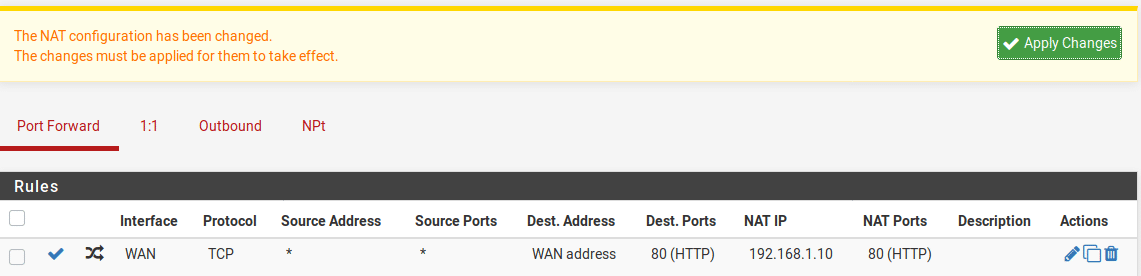
Scroll to the bottom and save the rule. Verify that the rule looks correct and click “Apply Changes”.
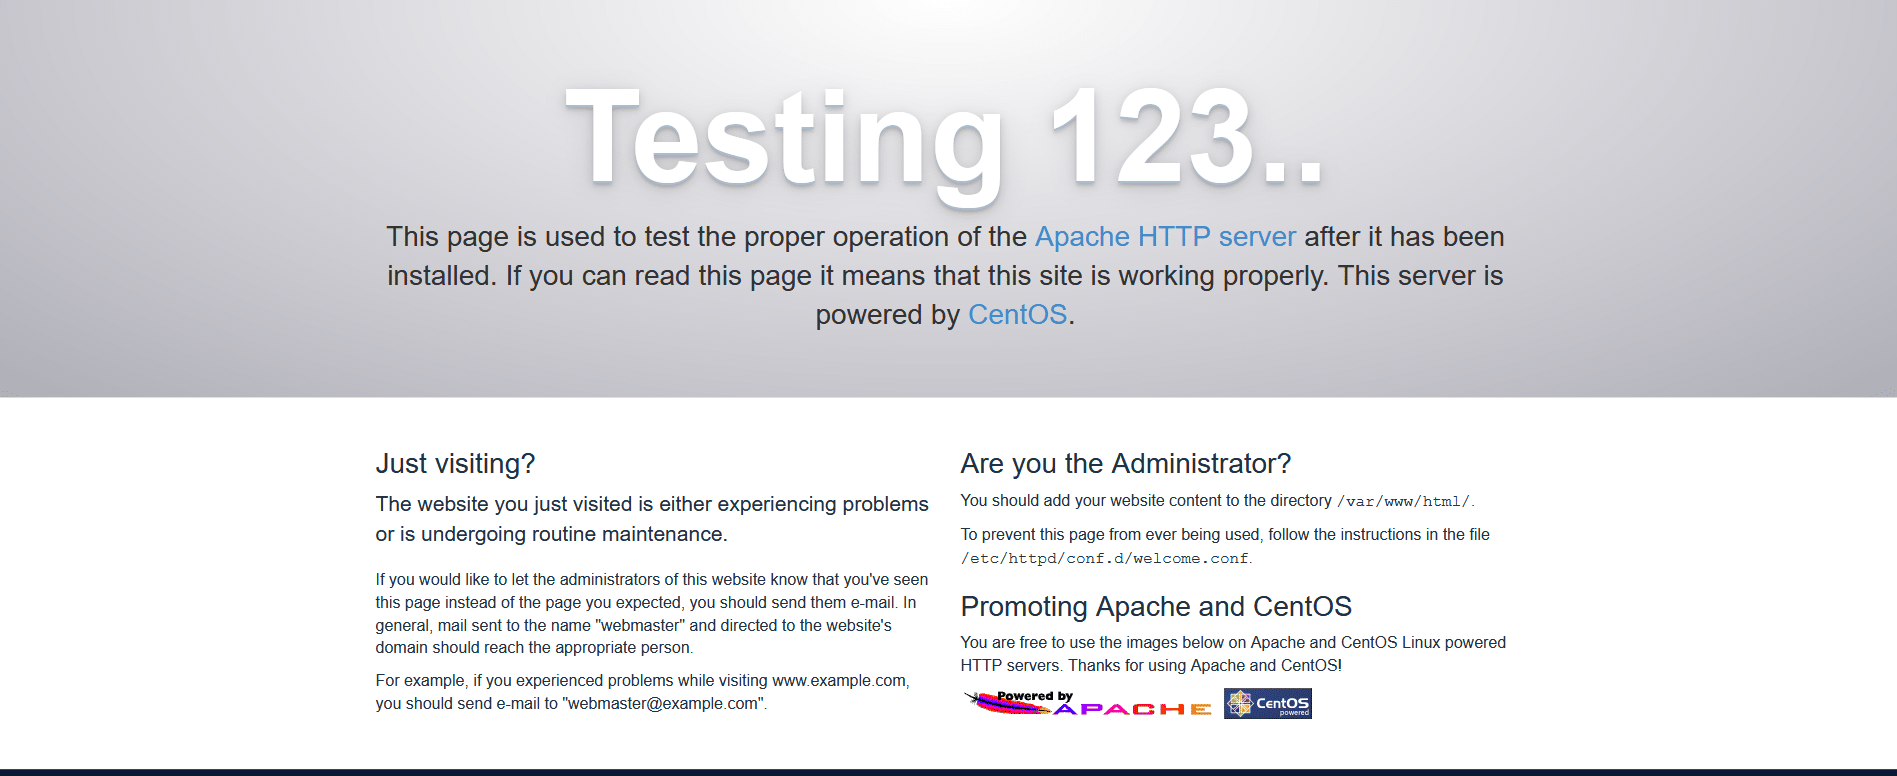
You will now need to test the port forwarding rule. Connect to a different network such as a mobile hostspot and browse to your router’s public IP address. If everything is working, you should see the redirected web page, in this case the Apache default web page but if you already have a service set up, you should see that page instead.
If your WAN IP address is static, you are done at this point but if, like most home internet connections, you have a dynamic IP address, you will want to configure dynamic DNS to make sure you don’t lose access if your WAN IP address changes.
Dynamic DNS configuration
Dynamic DNS is a service by which the pfSense can detect that its IP address has changed and send a notification to the Dynamic DNS provider to update the DNS record. pfSense supports a lot of Dynamic DNS services, some are free, others require subscriptions. For this example I will use no-ip but if you already have an account with another supported service you can use that instead.
Go to https://www.noip.com/, select the domain name and suffix you want and click Sign Up.

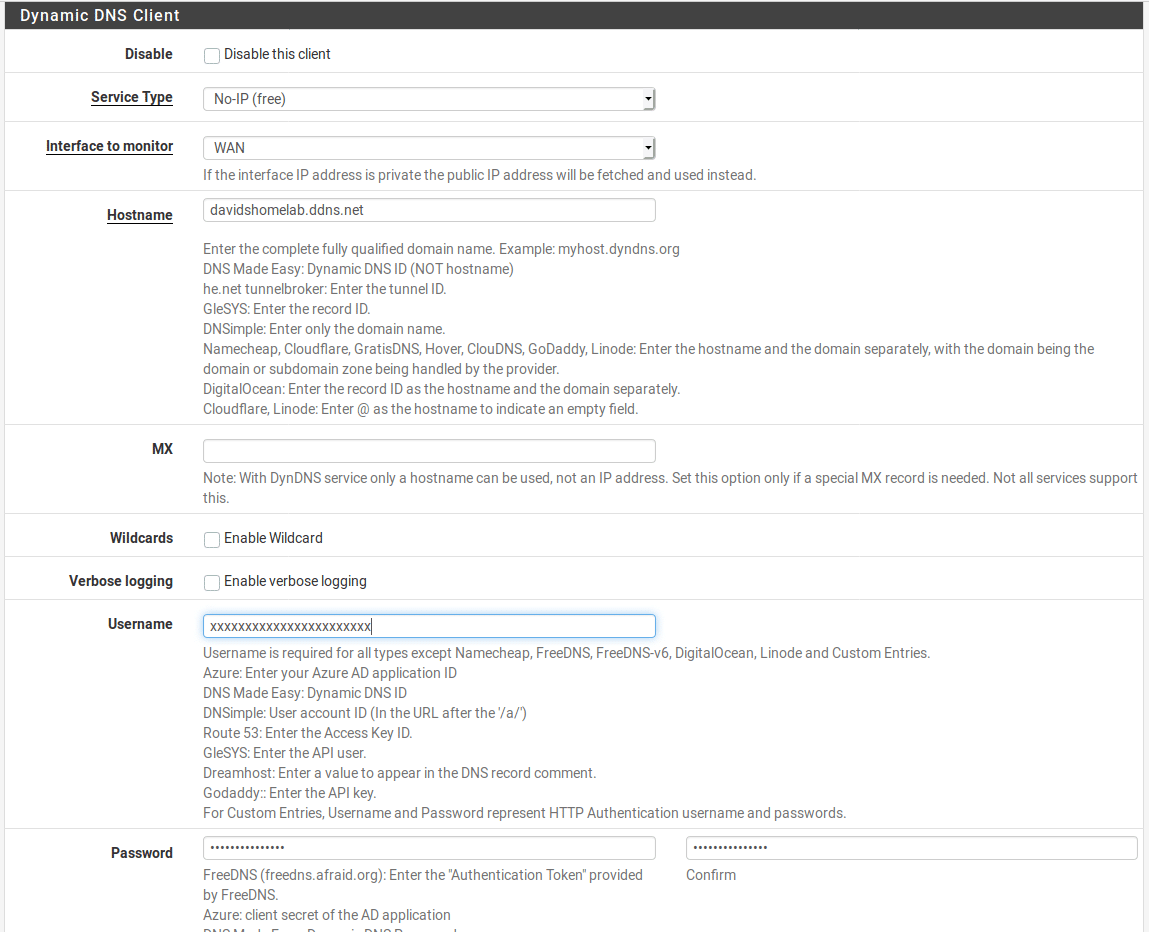
Set your email address and password on the signup page and click “Free Sign Up”. You’ll need to activate your account by clicking the link they will email to you. Then you can configure the account in pfSense. Go to Services > Dynamic DNS in the pfSense web interface and click the Add button to add a Dynamic DNS client.
Enter the Dynamic DNS provider, the configured hostname and your login credentials. Some providers use API tokens instead of usernames and passwords so if using a different provider, check the notes on the screen to work out what details you need to enter.
Scroll to the bottom and click “Save”. You should see the cached IP matching your current public IP address and showing in green.

As before, connect to a different network and check you can access your web service using the hostname you have configured. Now if your public IP address changes, pfSense will automatically update the DNS record so the hostname will still work.