
Cloud storage apps such as Dropbox or OneDrive pose a significant advantage over traditional file servers, they can synchronise local and remote copies of files, allowing for fast loading times and the ability to access your data from anywhere and the ability to share files with other people who don’t have access to your network. Whether it’s sharing work with a client or sharing holiday pics with a family member, cloud storage provides a simple way to share files which are too large to fit in an email.
Despite all these benefits cloud storage is not for everyone. Many people may be concerned that they are handing their data over to large corporations or that these services may one day shut down, meaning that years worth of data storage may need to be relocated at short notice. For companies, storing data with a third party may create an additional compliance burden or restrict the possibility of contracts with security focused organisations.
Hosting your own Nextcloud instance can prove to be the perfect balance between the convenience of cloud file storage and the peace of mind that comes with storing your data internally. Nextcloud also has support for add-ins for mail and calendar, meaning that it can be used as a company intranet homepage providing access to various internal resources all in one place.
Setting up your server
Nextcloud can be installed on a physical or virtual server or as a snap or a Docker image. I would recommend against using the latter two for business use but for small home deployments or those who just want to test the software, using a snap or a pre-built Docker image is by far the quickest and easiest way to get a working Nextcloud server. We will be installing on an Ubuntu 18.04 VM but any other Linux distribution which can run a LAMP or LEMP stack will also work. Note that Nextcloud 16 requires a version of PHP greater than or equal to 7.0 so you will have an easier time if that’s included in your chosen distribution’s repos. For this reason you will have a harder time setting this up on RHEL 7 or CentOS 7 or previous versions of these distros. Any recent version of Ubuntu, Debian, Suse or Arch should have everything you need already in the repo.
The amount of disk space you will need depends on what you plan on storing on the server but you’ll need at least 2GB for your base install. The Nextcloud manual recommends a minimum of 512MB of RAM with a hard minimum at 128MB. From my own testing I definitely would never go under 512MB and would suggest allocating at least 1GB if possible.
Setting up our LAMP stack
LAMP (Linux, Apache, MySQL & PHP) is the software stack on which we install Nextcloud, it provides the operating system, web server, database and language which enable Nextcloud to run. Nextcloud will also run on the NGINX web server but this will not be covered in this article (perhaps another time).
From our fresh install of Ubuntu 18.04 we will run the following commands to update our server and install the software we will need:
sudo apt update sudo apt upgrade sudo apt-add-repository universe sudo apt install apache2 mysql-server mysql-clientphp7.2 libapache2-mod-php7.2 php7.2-common php7.2-mbstring php7.2-xmlrpc php7.2-soap php7.2-apcu php7.2-smbclient php7.2-ldap php7.2-redis php7.2-gd php7.2-xml php7.2-intl php7.2-json php7.2-imagickphp7.2-mysql php7.2-cli php7.2-zip php7.2-curlunzip
Setting up Apache
We will want to disable directory listings on our Apache server to ensure that users are always presented with a web page, not a list of the files on the server, we do this by running
sudo sed -i "s/Options Indexes FollowSymLinks/Options FollowSymLinks/" /etc/apache2/apache2.confWe now restart Apache and ensure it is configured to start when the server boots up:
sudo systemctl restart apache2
sudo systemctl enable apache2
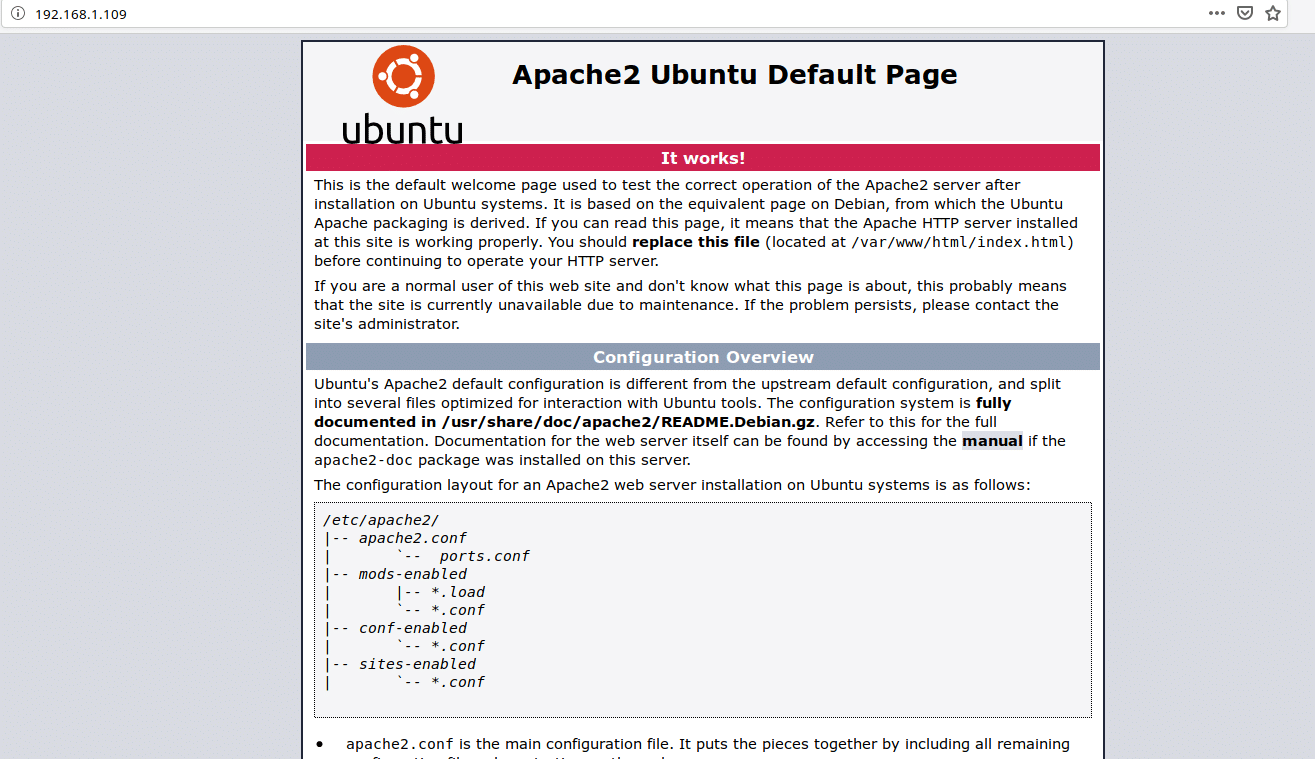
If we now browse to the IP address of our server we should see the default Apache web page. This will tell us that the server is running correctly.
Creating our database
The default MySQL package in the repo contains test databases and allows features such as remote root access. These can be useful for troubleshooting but must never be used on a production database as they cause serious security issues. MySQL comes with a tool to disable these features and prepare the database server for production use. Run:
sudo mysql_secure_installation
This will ask you various questions about how you want to configure your server. You will want to set a strong root password but other than that you should accept the default options.
We will now need to log in to our database as root and create our Nextcloud database. We will also create a user that Nextcloud can use to access the database.
sudo mysql -uroot -p <your root password>CREATE DATABASE nextcloud;CREATE USER 'nextclouduser'@'localhost' IDENTIFIED BY 'secure_password';GRANT ALL ON nextcloud.* TO 'nextclouduser'@'localhost'; FLUSH PRIVILEGES; EXIT;
Setting up PHP
You will need to make some changes to the default PHP configuration to ensure Nextcloud is given enough resources to run correctly. As a misbehaving script could cause a web server to crash or become unresponsive PHP imposes limits on scripts, including for how long they can run or how much memory they can use. The default limits are too low for Nextcloud so we will need to raise them. On a busy server it is not advisable to raise them too high to prevent a single thread from using all the server’s resources but if you are experiencing crashes when uploading large files you may want to raise them further than we will here.
sudo nano /etc/php/7.2/apache2/php.ini
We will want to make the following changes to this file:
file_uploads = On
allow_url_fopen = On
memory_limit = 512M
upload_max_filesize = 100M
display_errors = Off
date.timezone = Europe/London #Set this to your local timezone
We now need to restart our web server to load the new PHP config:
sudo systemctl restart apache2
A word on DNS
If you plan to use your server to access your files remotely you may wish to purchase a domain name. The process for adding a DNS record varies between providers so I can’t cover it in detail here but essentially you will need to create an “A” record pointing to the public IP address of your server. If you are just testing you can create a local record by adding the following line to your hosts file (/etc/hosts on Linux/mac/BSD and C:\Windows\System32\drivers\etc\hosts on Windows)
ip.address.of.server nextcloud.yourdomain.com
You can test that your DNS is working by attempting to access your domain name in a browser. If it is working you will see the default Apache page.
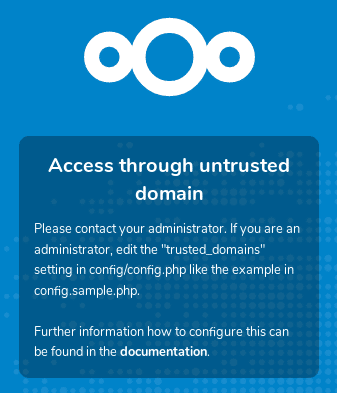
When we get to the process of installing Nextcloud it will ask us what the domain name should be. Note that once we set this it will reject connections which do not request this domain (e.g. if we connect directly to an IP address). While it is possible to change the domain name later, if you do plan on using a domain name to access your Nextcloud it is much easier to set it up at this point.
Download and place the Nextcloud files
Run the following commands to download the latest version of Nextcloud and place it in the root of the web server directory.
cd /tmp && wget https://download.nextcloud.com/server/releases/nextcloud-16.0.1.zip
unzip nextcloud-16.0.1.zip
sudo mv nextcloud /var/www/html/nextcloud/
We will now need to change the ownership and permissions of the files we have downloaded to allow Apache to access them.
sudo chown -R www-data:www-data /var/www/html/nextcloud/
sudo chmod -R 755 /var/www/html/nextcloud/
Create a site configuration in Apache
Copy the following text in to “/etc/apache2/sites-available/nextcloud.conf“, replacing the server name with the DNS name you have configured previously.
<VirtualHost *:80>
      ServerAdmin admin@example.com
      DocumentRoot /var/www/html/nextcloud/
      ServerName example.com
      ServerAlias www.example.com
      Alias /nextcloud "/var/www/html/nextcloud/"
      <Directory /var/www/html/nextcloud/>
         Options +FollowSymlinks
         AllowOverride All
         Require all granted
           <IfModule mod_dav.c>
             Dav off
           </IfModule>
         SetEnv HOME /var/www/html/nextcloud
         SetEnv HTTP_HOME /var/www/html/nextcloud
      </Directory>
      ErrorLog ${APACHE_LOG_DIR}/error.log
      CustomLog ${APACHE_LOG_DIR}/access.log combined
</VirtualHost>
Now we have our server configuration we can enable our site by running the following commands:
sudo a2ensite nextcloud.conf
sudo a2enmod rewrite
sudo a2enmod headers
sudo a2enmod env
sudo a2enmod dir
sudo a2enmod mime
sudo systemctl restart apache2
Go to our site and finish the setup
Now that our server is fully configured we are only a few steps away from having a fully working setup. Open a web browser and go to the domain name you configured for your site. You should see the following screen:
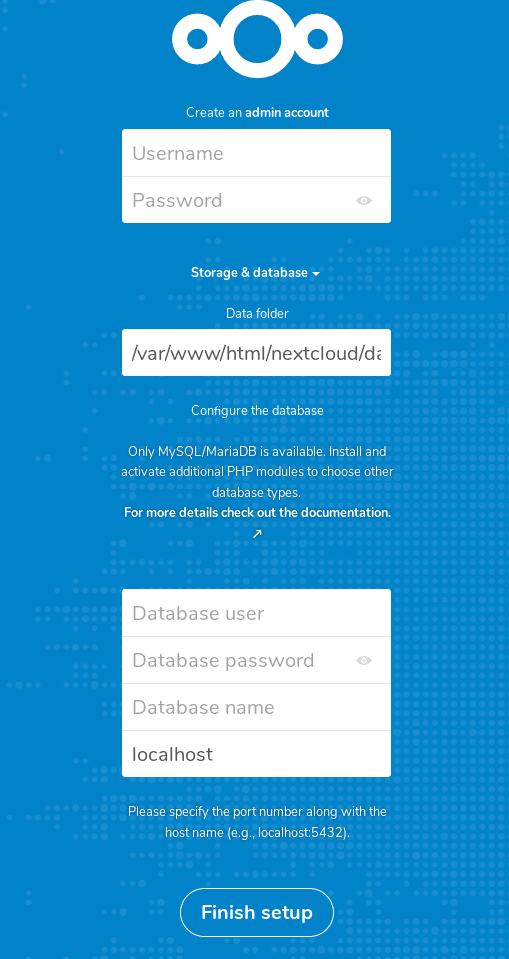
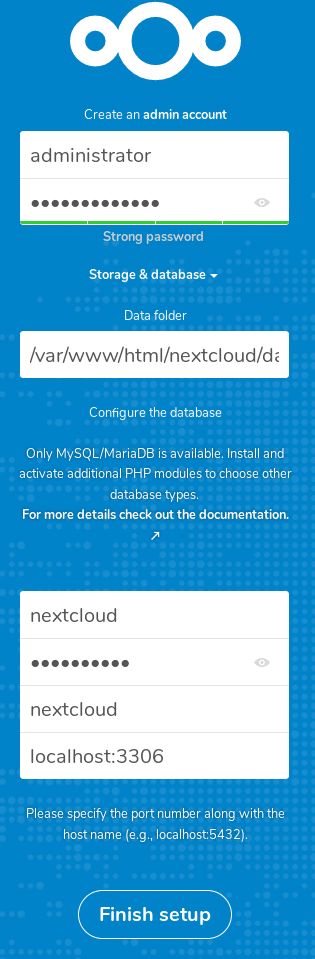
Fill out the boxes using the information shown in the right hand image, changing the details to match the ones you entered in your setup. If you followed this guide exactly then you should just need to change the passwords but if you chose a different name for your database or your database user you will need to set this as well. You can set your admin username and password to whatever you like. We’ll make other users later but we create our initial user here.
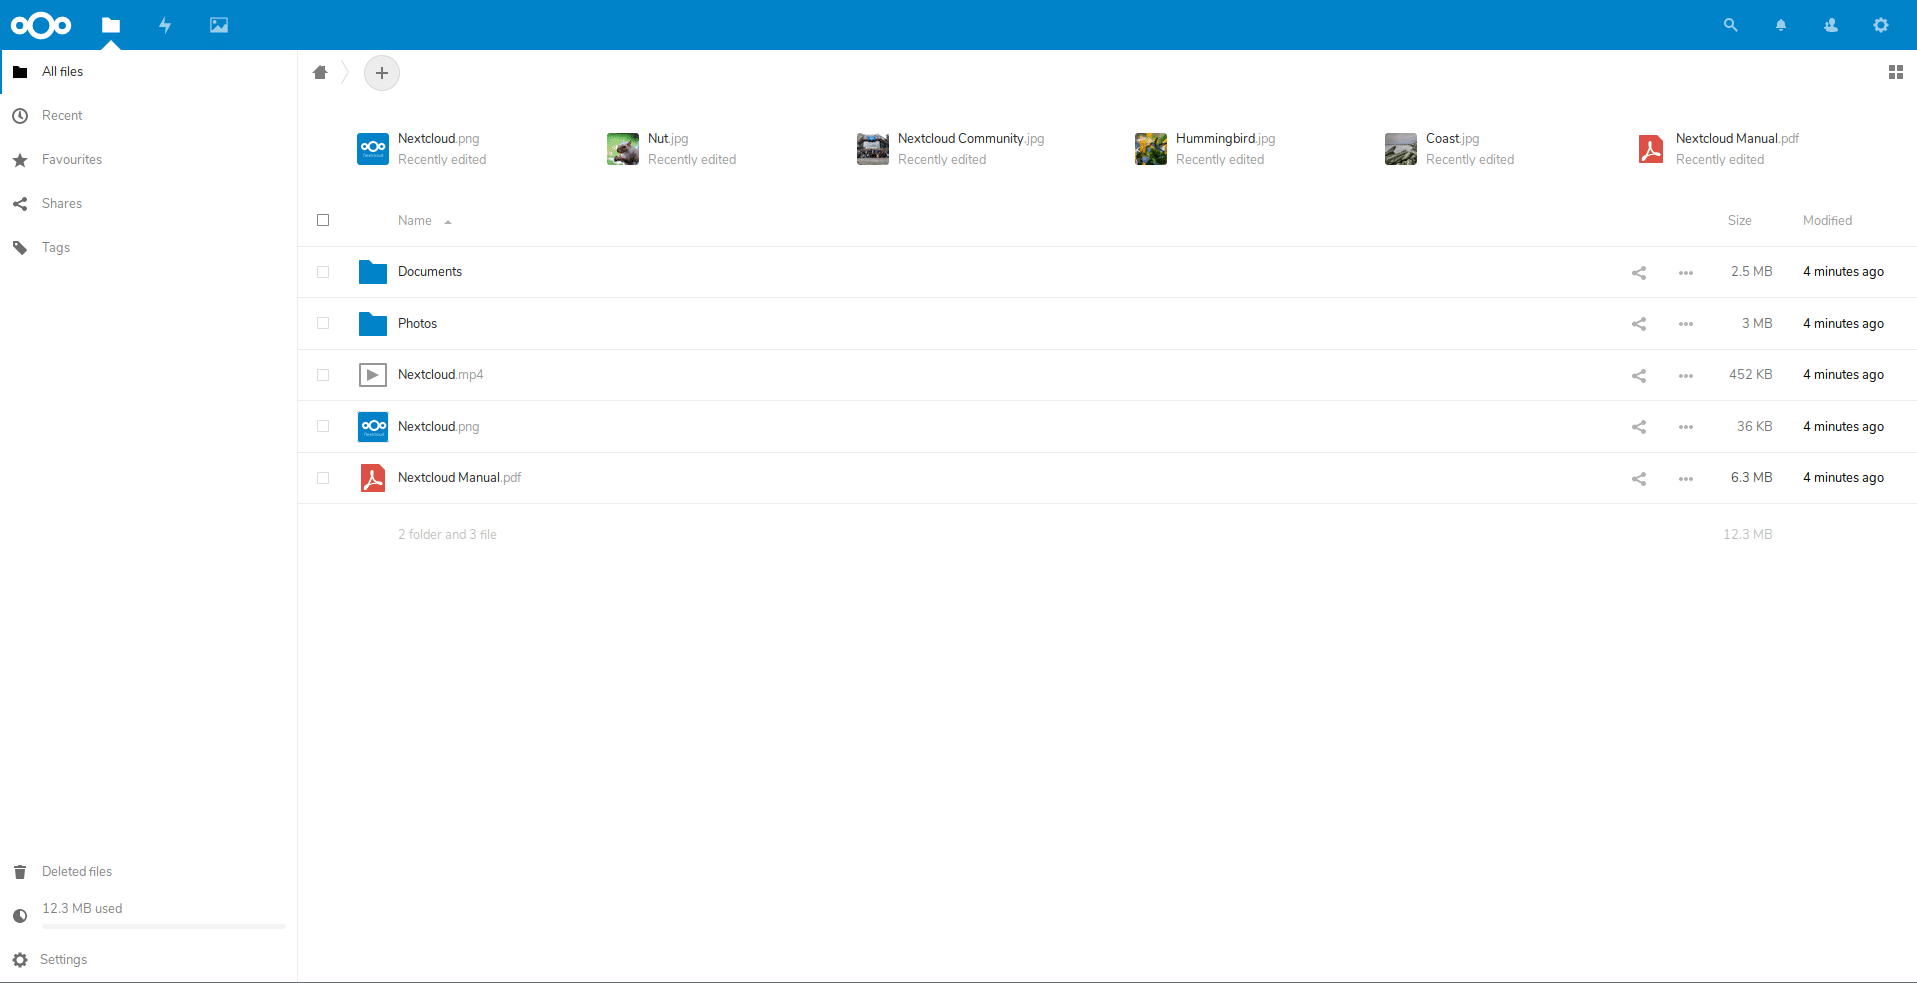
The installer will then run through some automated checks to ensure the server is properly set up and create the databases. If you have any missing PHP modules or your configuration is incorrect you will probably receive a warning at this point. If all is well you will be taken to the Nextcloud main page where we can start uploading files or customising our Nextcloud.
Adding our users
Now we have our server fully set up and working we will want to add some users. For home or small organisations you will want to add users individually. For larger organisations or those with existing LDAP databases such as Microsoft Active Directory you will probably want to use LDAP to import your users. This has the benefit of allowing single sign on so users don’t have another password to remember.
Adding a local user

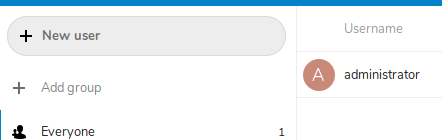
To add a user, press the button in the top right corner, this will initially show the first letter of your username but will change to your profile picture if you choose to add one. You will now see your list of current users and groups and the option to add a new user in the top left corner of the window. Once you fill in the required fields and press the save button your new user will be added.
Adding users via LDAP
You will first need to enable the LDAP backend from your Apps settings. From your admin menu, select “Apps”, scroll down to the “LDAP user and group backend” app and click “enable”
You will then find an LDAP / AD intergration option in your settings screen. You will need to answer some questions about your LDAP database and provide a bind user to query the database. Once this is done your AD users will appear in your user listing as if they were regular users.
Adding apps
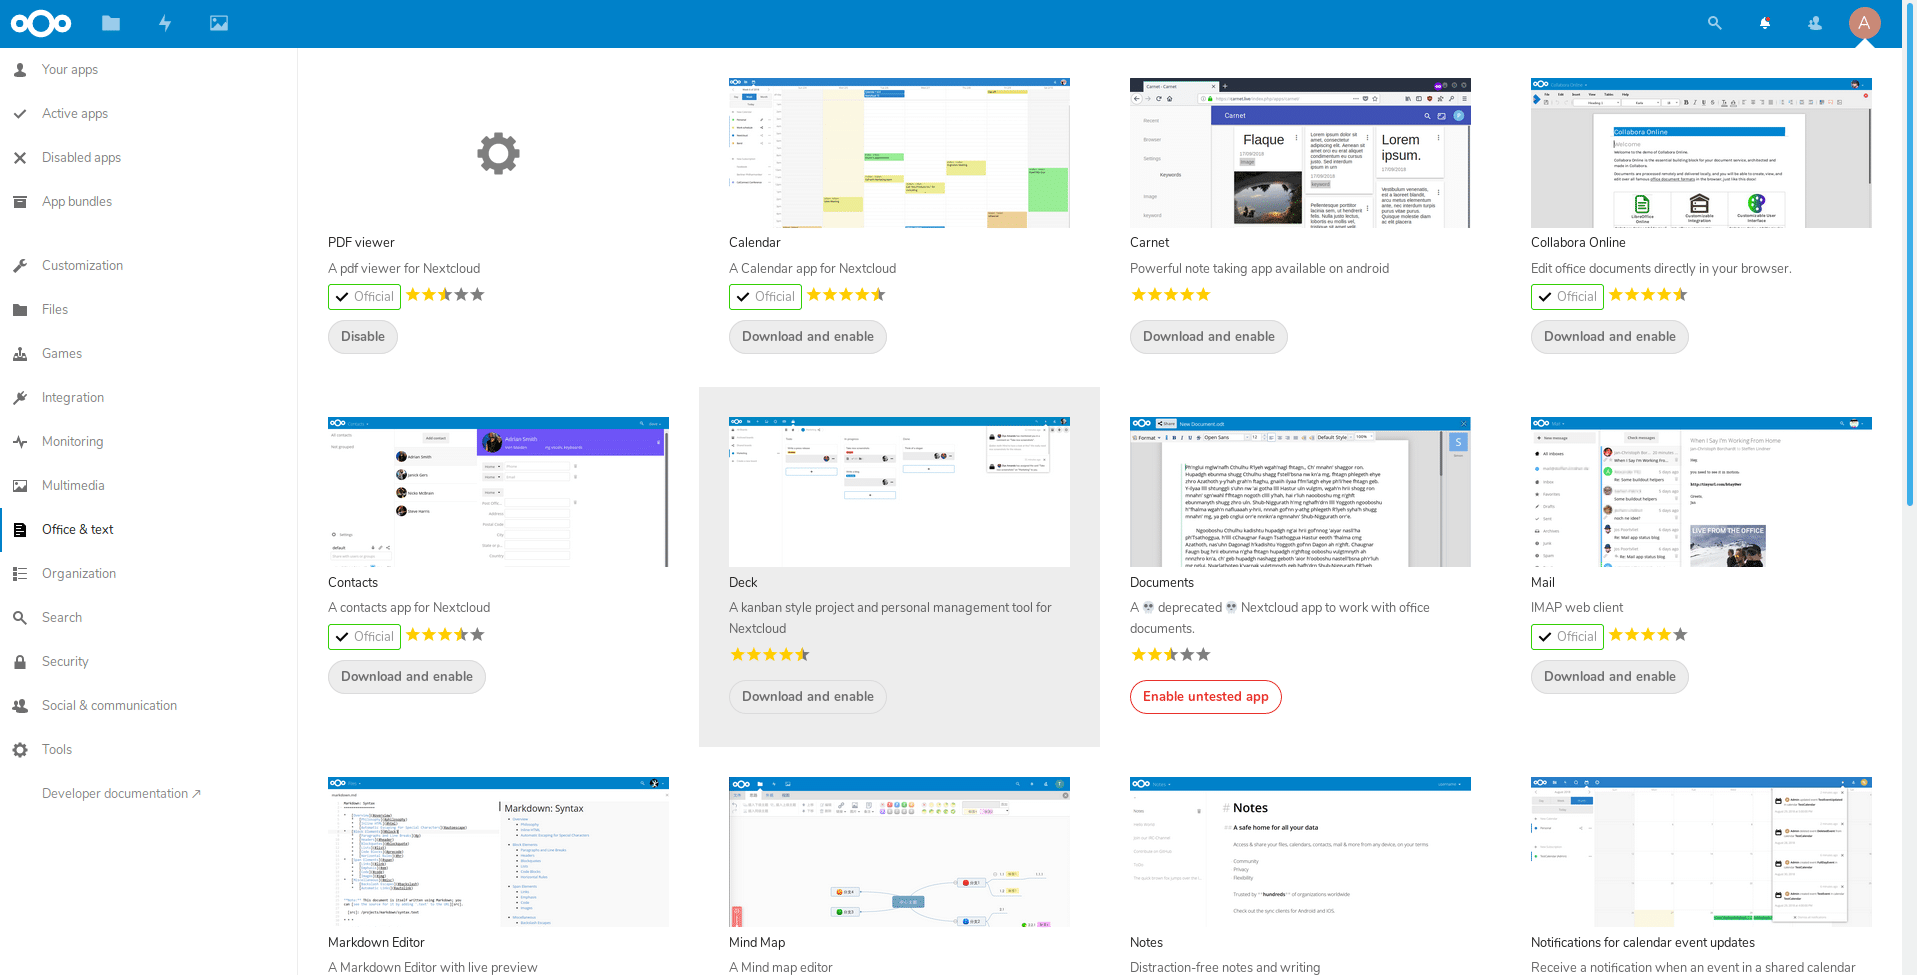
Nextcloud offers a wide selection of apps which can enhance its functionality and take it from a file sharing tool to a true groupware and collaboration tool for organisations. You can add a mail client, calendar, task list, notes app, media player, office suite, password manager and many others. Bear in mind that not all apps are official Nextcloud projects and some may be untested with your version of Nextcloud so have fun but don’t go too wild. You will see on the app screen which apps are official and which are untested, allowing you to easily judge which ones you’ll want to enable.
Desktop file synchronisation
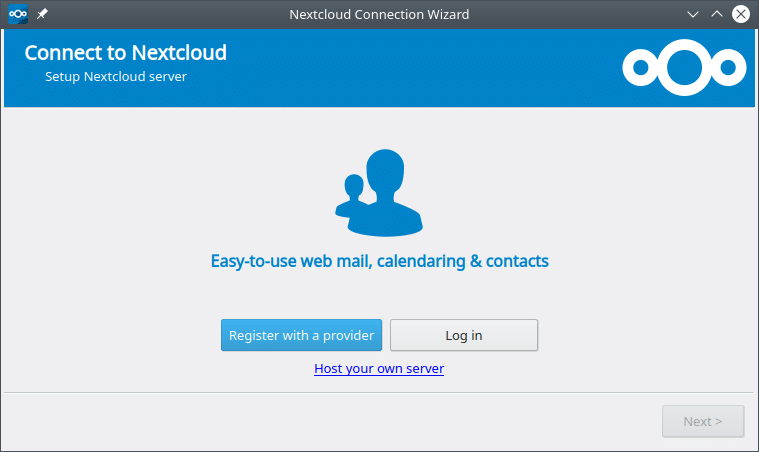
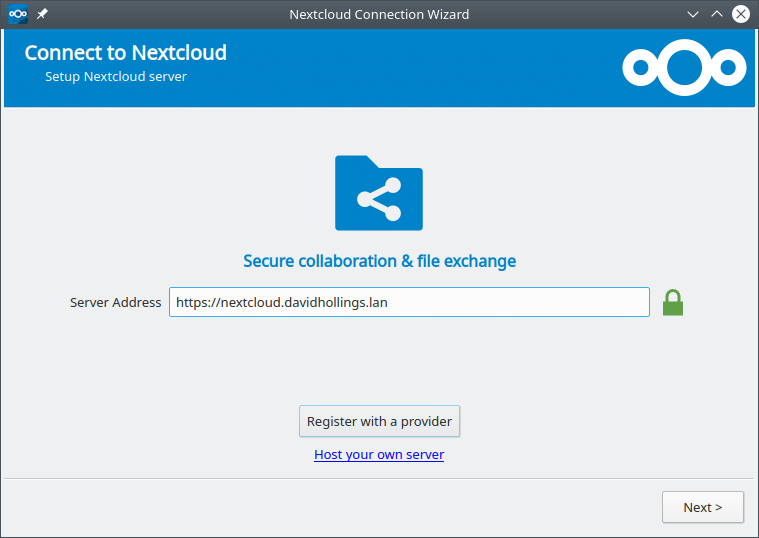
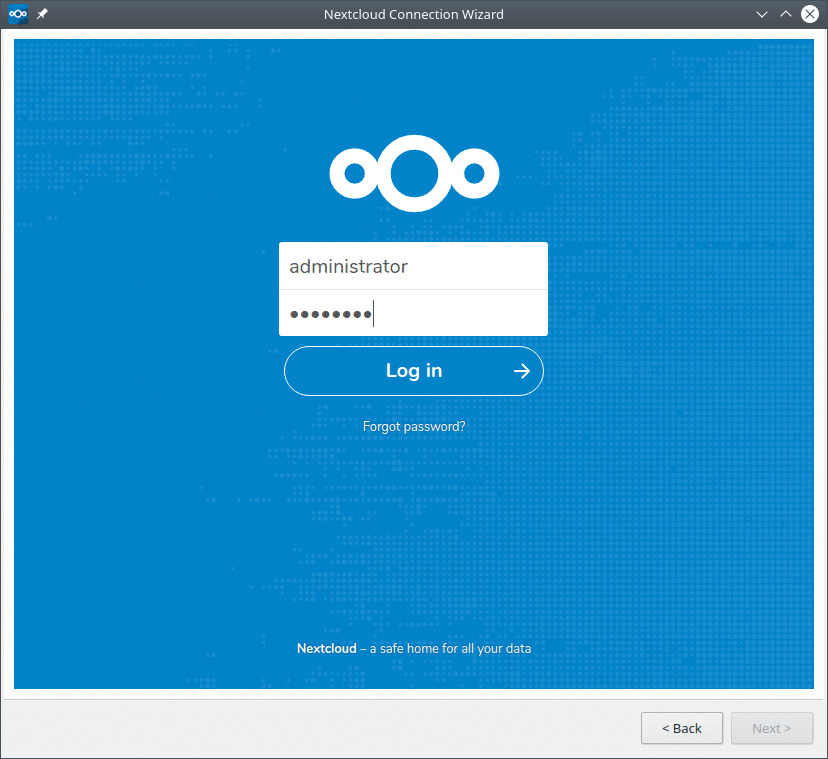
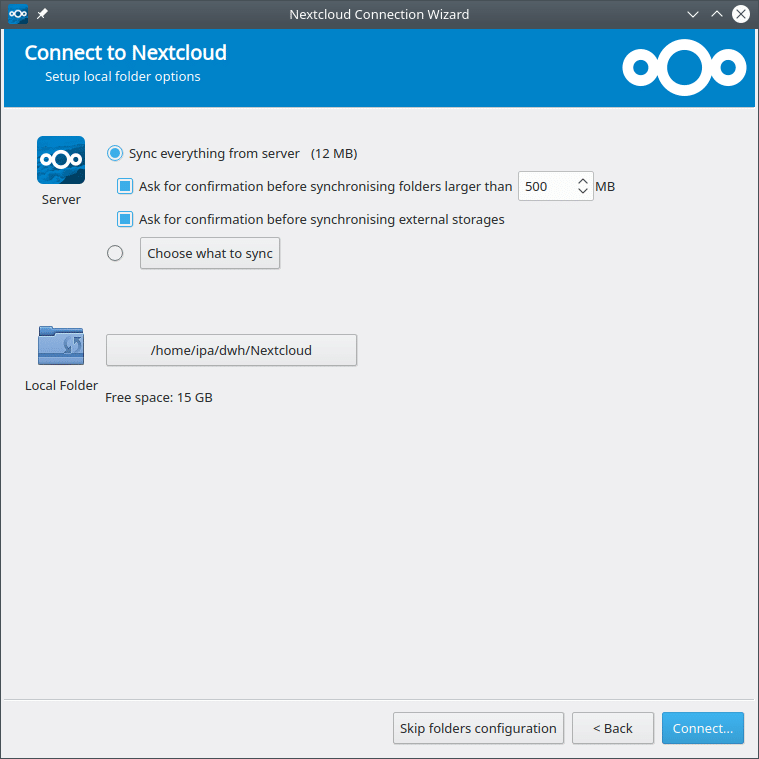
Like Dropbox and OneDrive, Nextcloud offers desktop and mobile clients for Windows, Mac, Linux, iOS and Android. You can find these on Nextcloud’s website and many Linux distributions have the client in their repos. Once installed you’ll just need to enter your server name and sign in. Finally configure the location of your local copy and decide what you want to sync and Nextcloud will immediately begin synchronising your data.

While there is clearly a lot more to Nextcloud this should provide a starting point from which you can build, creating a fully functional cloud platform entirely under your control. Finally, while HTTP will be fine for the home or an internal company network, if you plan to expose your Nextcloud to the internet you should enable HTTPS. Stick around for a future post for instructions on how to do this.